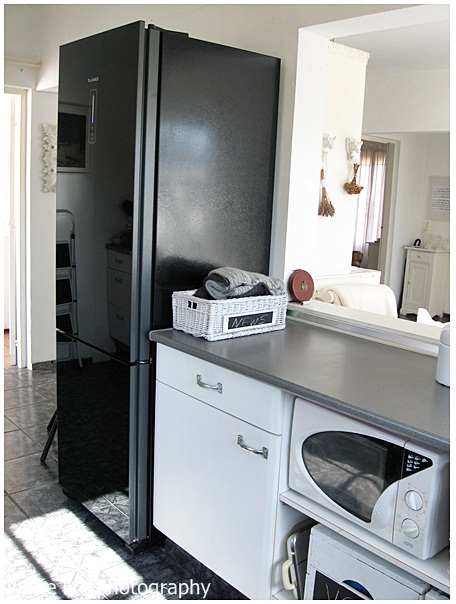
Step 1:
The tall cupboard was emptied and removed
Step 2:
Now the base of it (approx. 50 x 50 cm - reinforced concrete!!!) is
removed. Very arduous ... :(
Step 3: A
panel got slats and then a coat with chalkboard colour
Step 4: Bloques as holders were missing and had to
be purchased
Step 5:
Into the next to the fridge placed cabinet I've drilled 2 holes ... so it's possible, that the microwave
oven on the right side gets electricity
Step 6:
The refrigerator was placed correctly
Step 7:
The panel was given its place and serves now as a 'nothing-can-miss-list'.
Step 8:
FINISH ! *smile*
Step 1:
Der Hochschrank wurde geleert und entfernt
Step 2:
Der darunter befindliche Sockel (ca. 50 x 50 cm - Stahlbeton!!!) musste mühselig bis zum nächsten Einbauschrank
entfernt werden :(
Step 3:
Eine Holzplatte bekam Leisten und anschließend mit Tafelfarbe gestrichen
Step 4:
Bloques als Tafelhalter fehlten und mussten gekauft werden
Step 5:
Der jetzt neben dem Kühlschrank befindliche Einbauschrank bekam 2 Löcher, damit
die nach rechts gewanderte Mikrowelle mit Strom versorgt werden kann
Step 6:
Der Kühlschrank wurde korrekt platziert.
Step 7:
Das Tafelbrett erhielt seinen Platz und dient nun als ‚nichts-darf-fehlen-Merkliste‘
Step 8:
FINISH! *smile*


